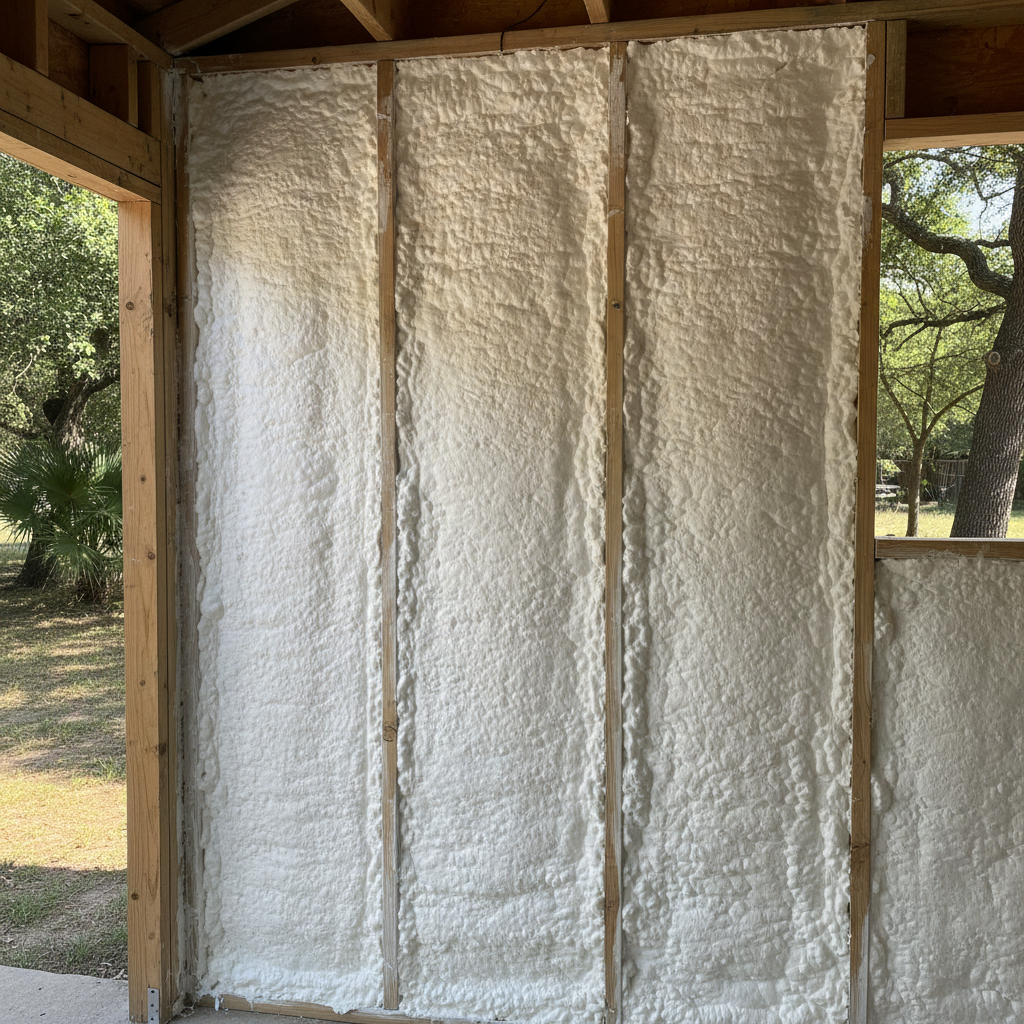
Alright, let's talk sheds. Maybe you've got one, and you use it for storage, a workshop, or even just a little escape from the main house. But come summer, that thing turns into an oven, right? And in winter, it's a freezer. So you're probably thinking, 'I should insulate that.' Good call. Before you jump in, though, let's go over what you really need to know about insulating a shed here in Georgetown.
Before You Start: Planning Your Shed's Insulation
First off, what's the shed actually for? If it's just for storing tools that won't mind the heat or cold, you might not need much. But if you're keeping paints, chemicals, or anything else sensitive to big temperature swings — or if you plan to spend time out there yourself — then insulation is definitely a must. You'll want to think about the walls, ceiling, and floor.
Drainage is a huge deal. You never, ever want water getting into your insulation. Make sure your shed's foundation is solid and that water isn't pooling up around it. Here in Georgetown, with our clay soils, you can get some serious foundation movement if water isn't handled right, and that applies to sheds too. Also, check for any leaks in the roof or around windows and doors. Fix those first, otherwise, you're just insulating a problem, aren't you?
Ventilation is another big one. Even insulated spaces need to breathe a bit to prevent moisture from building up. You might need to add soffit and ridge vents, or at least some gable vents, especially if you're planning to heat or cool the space. Without good ventilation, you're just trapping humidity, which leads to mold and rot. And trust me, nobody wants that headache.
Choosing Your Materials: What Works Best?
For walls and ceilings, you've got a few choices. Fiberglass batts are common and pretty easy for a DIYer. Just cut 'em to size and fit 'em between the studs. Remember to wear gloves, a mask, and long sleeves – that stuff's itchy. Rockwool is another good batt option; it's a bit denser and works better for sound dampening if your shed is going to be a workshop.
Rigid foam boards (like XPS or polyiso) are excellent too. They give you a higher R-value per inch than batts, which means better insulation in a thinner profile. You cut them with a utility knife and fit them snugly. You'll want to seal all the seams with foil tape or spray foam to stop air leaks. This step is absolutely critical for good performance.
For the floor, if it's raised off the ground, rigid foam boards cut to fit between joists are usually your best bet. If it's a concrete slab, you're probably out of luck unless you're pouring a brand new slab with insulation underneath, which, let's be honest, is a whole different project.
Now, when it comes to spray foam, that's generally when you call in the pros. Open-cell foam is great for filling cavities and air sealing, and closed-cell foam offers an even higher R-value and acts as a vapor barrier. It's a fantastic product, but it needs specialized equipment and training to apply correctly. You really don't want to mess that up yourself.
The Installation Process: DIY vs. Pro
If you're going with batts or rigid foam boards, it's definitely something you can tackle yourself. Measure twice, cut once. Make sure every cavity is filled, and there are no gaps. Air sealing is just as important as the insulation itself; use caulk around windows and doors, and expanding foam for bigger gaps. You'd be surprised how much heat or cold can sneak through a tiny crack.
Once the insulation is in, you'll need to cover it. Drywall, plywood, or OSB are common choices. This protects the insulation and gives the shed a finished look. Plus, some insulation types, like fiberglass, need to be covered for fire safety reasons.
However, if your shed has a lot of tricky angles, or if you're really aiming for maximum energy efficiency and air sealing, that's when you should seriously think about calling in a professional. Especially for spray foam. It's not just about spraying it on; it's about getting the right thickness, making sure it expands properly, and handling the chemicals safely. A botched spray foam job can be a real nightmare to fix.
At Skyline Insulation Inc, we've seen all kinds of shed projects. We can help you figure out the best approach for your specific shed and budget, whether it's a simple DIY batt install or a full spray foam application. Sometimes, just getting a pro to do the air sealing, and then you handle the batts, can be a good middle ground.
After the Insulation: Enjoying Your Improved Shed
Once your shed is insulated, you'll notice a huge difference. It'll be cooler in the summer, warmer in the winter, and probably quieter too. You'll be able to work out there comfortably, store things without worrying about extreme temperatures, or just have a more pleasant space to hang out. Keep an eye on your utility bills if you're heating or cooling it; you should see a drop.
Just remember to maintain that ventilation. Check your vents periodically to make sure they're not blocked. And if you ever see signs of moisture, address it immediately. Insulation works best when it's dry and doing its job.
It's a project that pays off, whether you do it yourself or bring in the experts. After all, a comfortable shed is a useful shed.